
Almost 1 month ago I received a DIY oyster mushroom growing kit! I successfully harvested a big clump of mushrooms off of it on March 25th. Be sure to check out all of my posts about it here! After that initial fruiting I took the mushroom cake out of the plastic bag it was originally in and re-soaked it in a tub of water overnight. Then I set it in a bowl and misted it a few times a day on all sides. It took longer for it to start fruiting this time vs. the first time I opened it and started the fruiting process.
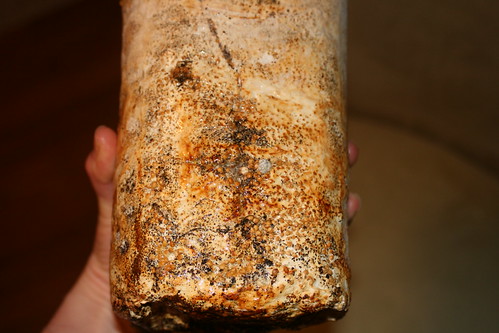
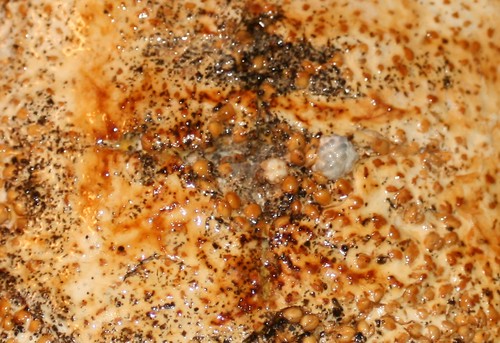
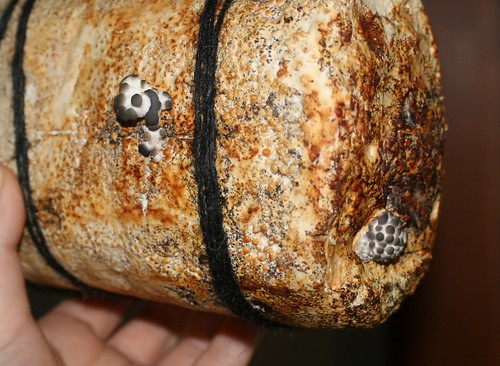
It was exciting to have it open on all sides because it allowed it to fruit from anywhere on the cake! It sprouted up spots on almost every side! I hung it with some string for a couple days but it simply dried out too much so I moved it to a large bowl, sometimes allowing it to soak in some water. It dries out way too much when its out of the plastic bag. I think having it in a big plastic tub with a good amount of humidity would be the way to go. I have had a lot of fun experimenting though!
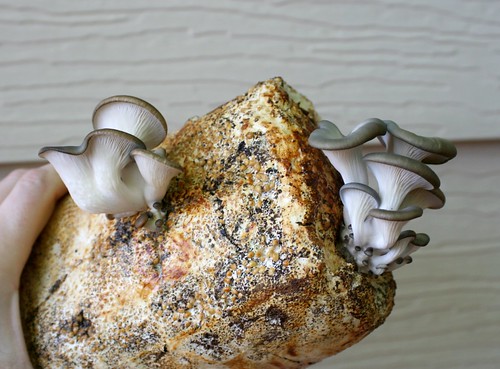
I’m going to soak it again and try for more mushrooms after this fruiting is complete. Hopefully she keeps on producing! Do you think I’ll get more?
~~~ Update: After this fruiting, the cake really felt like it was starting to decompose and I was actually a bit tired of misting the thing so many times a day, ever day, for weeks, to get what mushrooms I did. It was an amazing experience and I recommend it to anybody who is interested!